This post is for rock climbers! Chalk bags usually cost $15-$35 (which is out of the price range of a UCD student living on ramen). Severely torn jeans and socks are usually just thrown away. Juxtapose those two statements together, have a bit of creativity, and spend an hour or two of time and bingo! I present the pant leg chalk bag:

Alright, its a little rough around the edges, but I'm sure you could be more persnickety about the stitchery and have a cleaner looking bag (honestly this was an experiment--turns out the idea is good to pursue with another pant leg).
Concept:
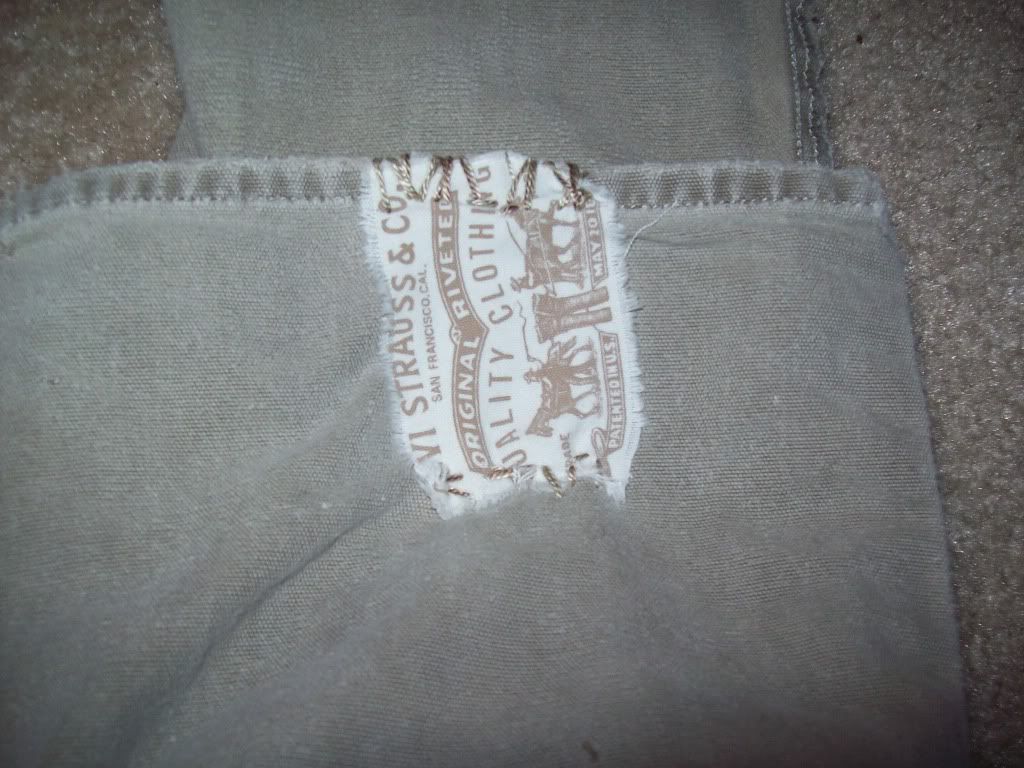
A doubled over pant leg with a pocket for a bottom forms the bag. The Levi's label is stitched facing sideways as a belt loop. The brim is stiffened with zip ties. The top bunches and buttons together to close securely.
What I used:
- 18 inches of Levi's slim straight pant leg
- A torn sock (good at the toe)
- Embroidery floss
- Two long zip ties
- Safety pins
- Needles
- Scissors
- Climbing chalk
Procedure:
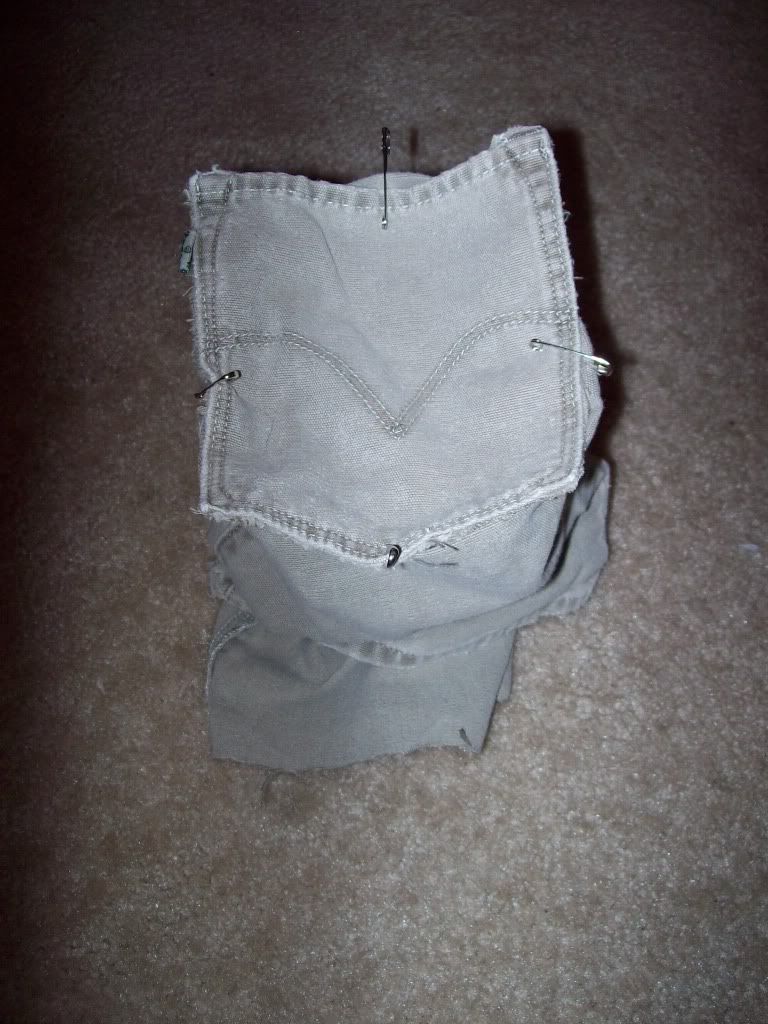
Cut pant leg and back pocket. Sizing of bottom piece will depend on the size of the pant, brand, pocket design, etc., so don't be too picky about measurements here. Fold pant leg (to double it over) as shown such that the chalk won't leak through.

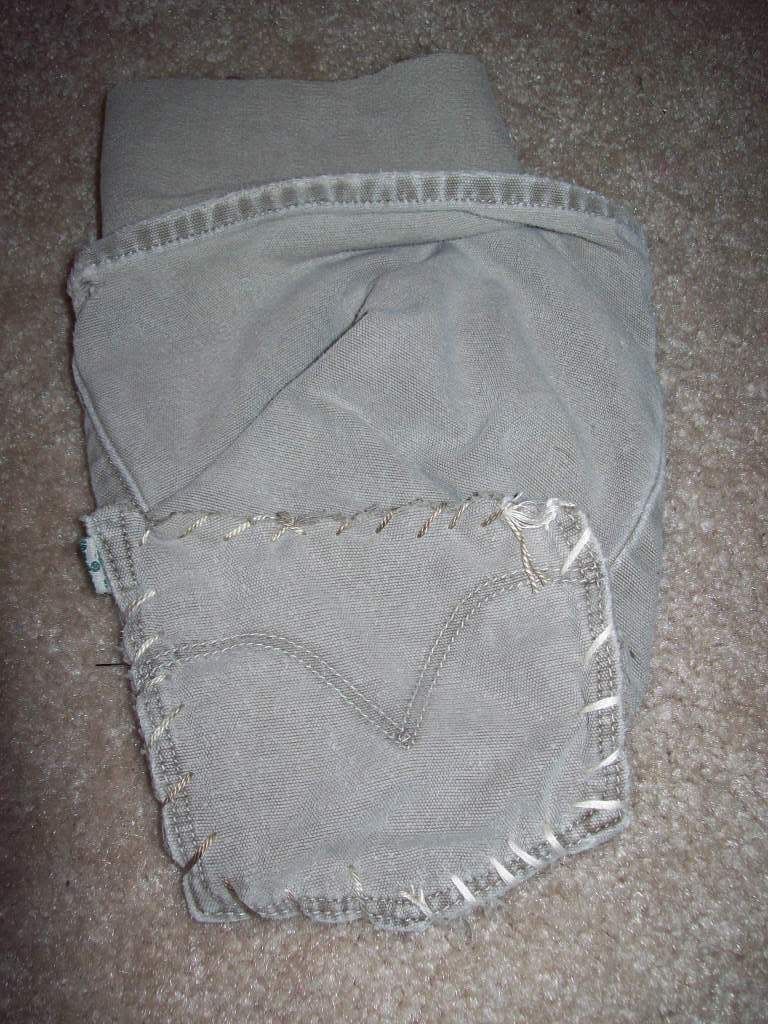
Safety pin the bottom in and stitch away until the bottom is done. This part should be done with some care because it will be the seam likely to leak the most chalk. Here is a before and after.
Stitch the label on the outer edge of the bag so it will sit where you want with respect to the pocket design.
Here comes a tricky part: To stiffen the brim of the bag I stitched along the edge two 14 inch long zip ties. This probably wasn't the best choice of material but I had it around and they fit. I'd choose a thin strip of plastic from an extra large bottle if I were to have a second go at this but don't know if that would have its downsides as well. I zig-zagged floss back and forth along either side of the ties and through both inner lining and outer bag material all the way around. It looked something like this:
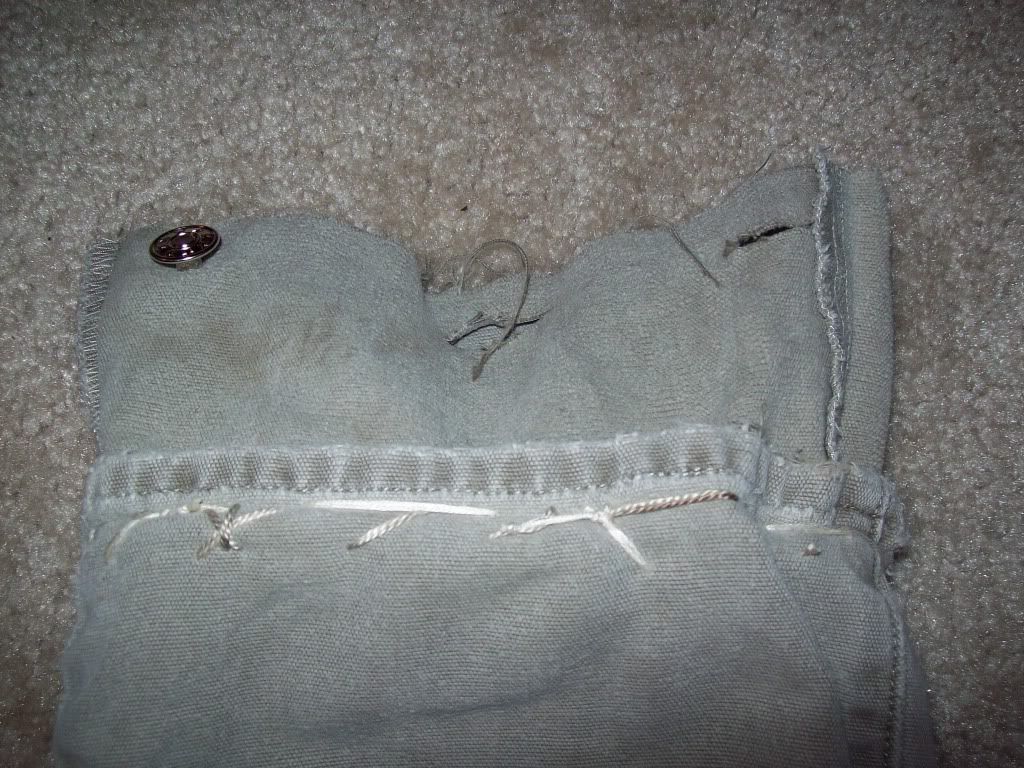
As seen above, I also took a replacement jean button I had laying in my sewing kit and hammered it in place about 1/6 of the width of the bag from the edge through both layers of inner lining. With two appropriately spaced button holes, the bag securely closes like so:
Lastly, I made a chalk ball out of a sock I tore (ironically from rock climbing). I simply cut the sock at about 4 inches from the toe and stuffed it with about 2 ounces of powdered magnesium carbonate. I then bunched the open end together messily and knotted it up. It will have to be redone in a couple weeks (to be refilled) so I did it haphazardly.
And so completes my concept/tutorial for an environmentally responsible chalk bag--find me climbing with it at the ARC or Rocknasium!


