One of the reasons I love spring is because of all the fun, pastel nail polish colors that come out! Nail polish is a great way of adding a splash of color to your wardrobe, or tying in all the different pieces of your outfit.
If you're like me and like to buy every nail polish color in the color spectrum then you're probably in desperate need of a way to store and show off your pretty little paints. Below is a step by step way of creating your very own nail polish shelf for FREE!
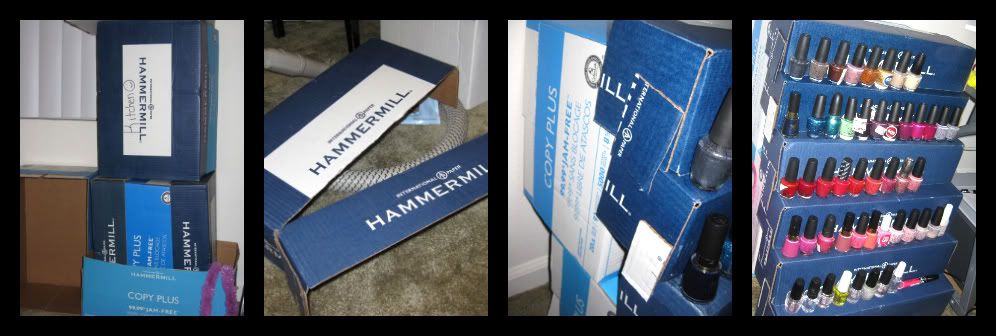 |
| L to R: Boxes ready to be cut!, Cutting off the first shelf, showing the glued support, ready to use shelf |
Step 1: Gather a few box tops that are the same size (The number of box tops you need depends on how many shelves you want to have [The one pictured above has 6 shelves])
Step 2: Cut off each side of the box top about 2 1/2 inches in from the edge
Step 3: Cut out strips of cardboard and use it to glue together the cardboard pieces from Step 2 allowing the first box top to overlap the second one (each shelf should only have 1 1/2” width for items to be put on after the next shelf is put on top).
Step 4: Repeat gluing cardboard strips to keep the shelves together on the other side.
Step 5: Use the bottoms of the boxes (that you took the box top from) and use it to support the shelves you made by sticking it under your cardboard construction
Step 6: Arrange your nail polishes on your new nail polish shelf!


